


Fall Bulbs = Spring Flowers
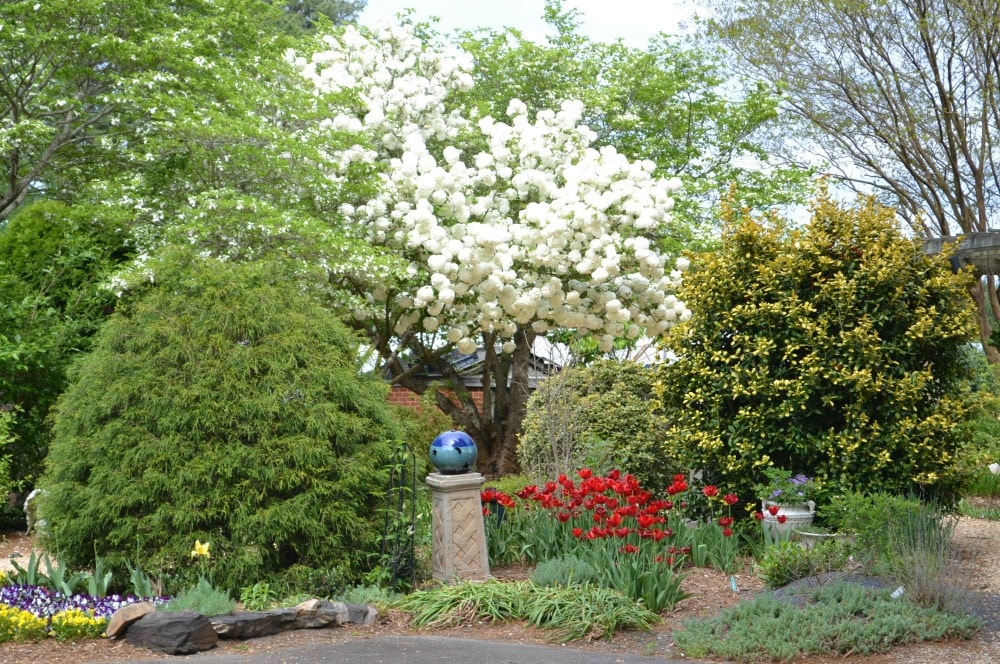
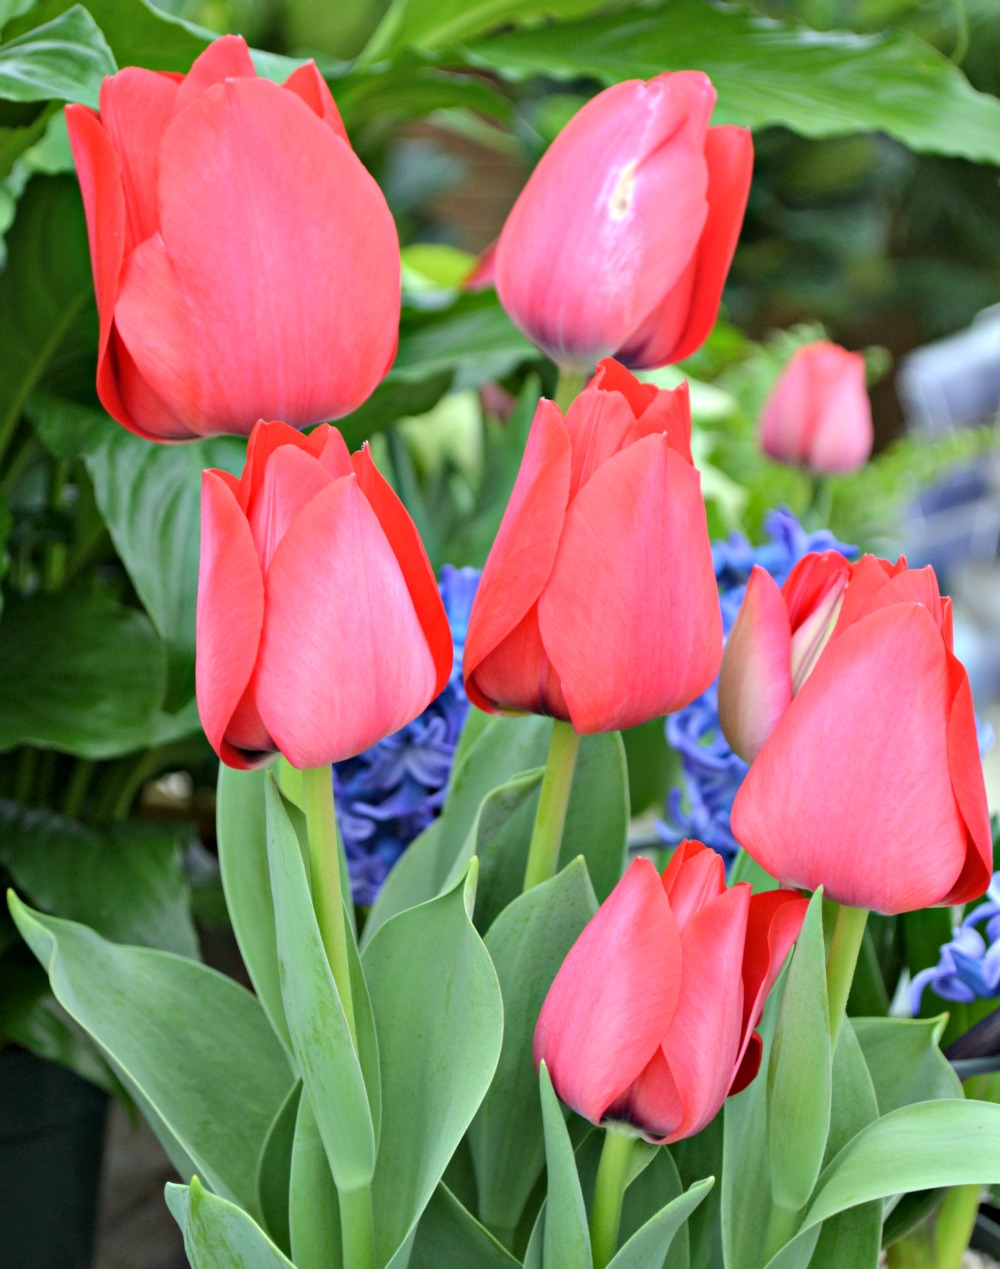
Don’t you just love spring? Cool mornings, bright green lawns brushed with nature’s paintbrush of various flowering hues. Spring-flowering bulbs, such as tulips, daffodils, hyacinths and more make a welcome addition to any landscape. Though, to enjoy these lovely flowers in the spring, a little planning must occur well in advance. Although these flowers bloom in the spring, they must be planted in the fall; for this reason, some nurseries refer to them as fall bulbs. Obviously, this can be somewhat confusing, but a good rule of thumb is to plant your “fall bulbs” to get “spring flowers.”

So, which bulbs should you purchase? That really depends on what you want to accomplish with your plantings. Maybe you want to add a lot of color to your otherwise drab landscape or are looking to create a garden that fills the air with sweet fragrances. Or perhaps deer are a problem in your yard and you want to plant to discourage them from visiting. Whatever you are looking to achieve, it can easily be done with a little planning. Ask one of our experts in the garden center to help you select bulbs for your yard!
Where to Plant Your Bulbs
Before purchasing your bulbs, you need to decide exactly where you want to plant them. There are a couple of things to take into consideration when choosing a location:
– Plant in a sunny location. If at all possible, never plant bulbs in a spot where the flowers will be in the shade most of the day. As a general rule, the more sun they get the more blossoms they will produce. There are a few varieties that will tolerate partial shade such as Lily of the Valley, Anemones and Snowdrops. So location, location, location.
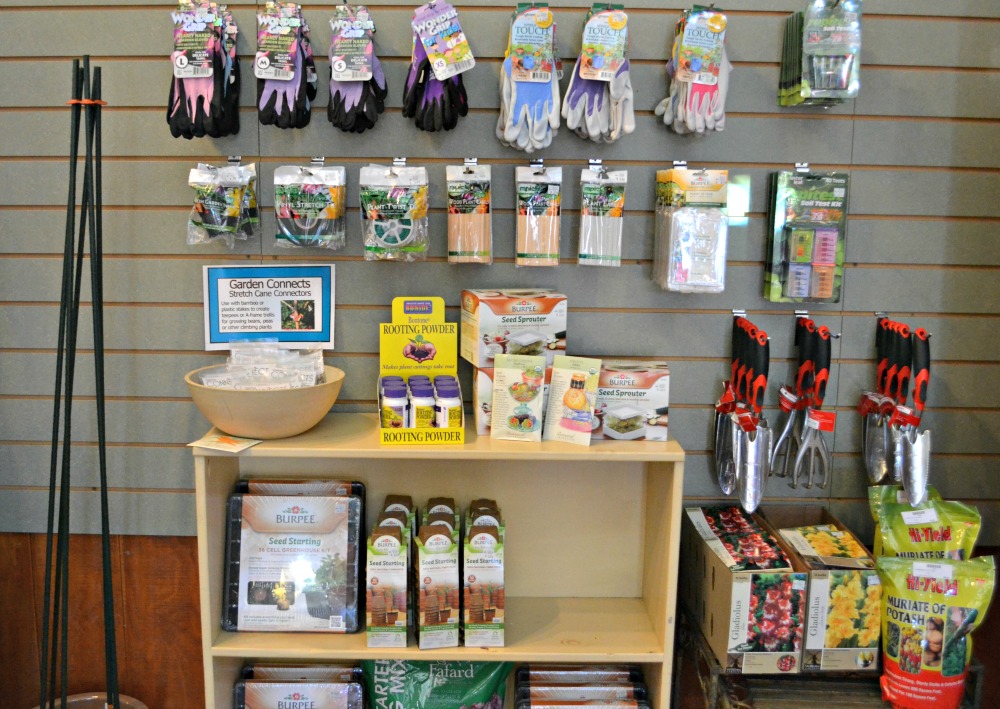
– Make sure the area has good drainage. If not, dig the hole a little deeper than the bulb requires and add some sand, permatill or soil conditioner to the bottom of the hole (directly under the bulbs). You can also add some Bulb-Tone or Bonemeal at this time.
How to Plant Your Bulbs
After you have decided on a location and have purchased your bulbs, it is time to start planting! There are two approaches you can take to this: you can either dig individual holes or dig a trench. Several individual holes are good if you want to plant groups of bulbs. However, if you want a border around a flower bed, then digging a trench would be a better option. Always read and follow the directions on the bulb packaging; valuable information such as individual bulb depth, spacing and bulb placement will be provided there.
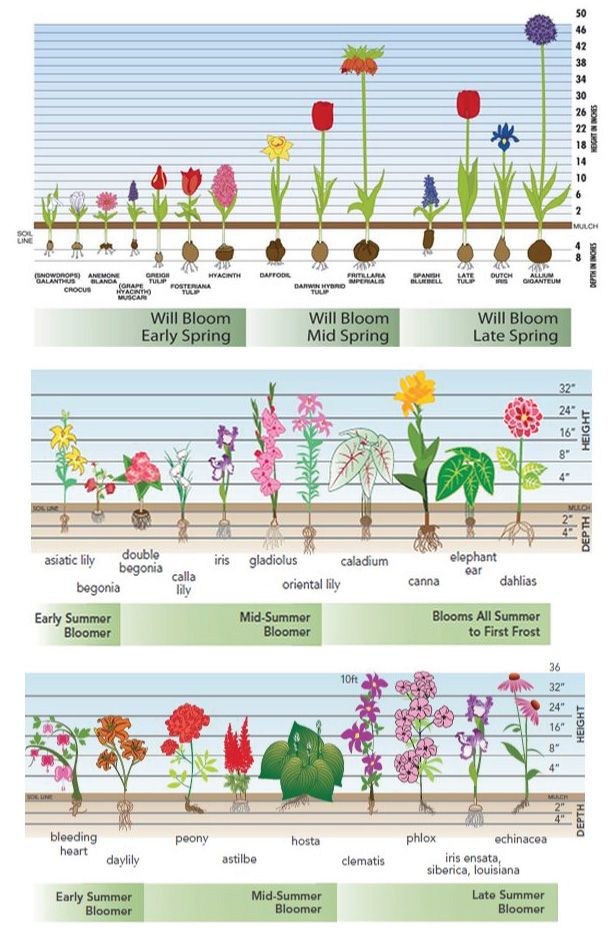
It is also important to note how tall the flowers will be once they are in full bloom. Doing so will give your garden a more organized appearance, while allowing you to see all of the blooms. Some helpful guidelines:
– Tallest flowers in back, shortest in front
– Plant in odd numbers
– Avoid straight lines
– Plant in one solid color or colors that compliment each other such as pinks, purples and whites
– Space appropriately in an attractive arrangement
Once you have your bed designed and your bulbs in the ground, put the loose soil over the bulbs in the holes/trenches. Carefully tamp it down to get rid of any air holes. Finally, water thoroughly. Really thoroughly. Unless the weather is calling for a few days of continuous rain (downpours, really), it’s important that you ensure they are watered properly. After watering, your bedding area shouldn’t look like a mud puddle, but pretty close. Continue to water regularly for the next four or five weeks (again, unless mother nature is providing continuous downpours). You can opt to add a layer of mulch on top, though it isn’t really necessary in the Raleigh area, as our winters are mild and the ground never really freezes solid. Though, it would be aesthetically pleasing! That’s it! Sit back and enjoy the winter months and wait for your colorful flowers to emerge!
Happy Gardening!
Cindy K.
FairviewGreenhouses & GardenCenter