

Give your Garden an Early Start
Starting Seeds Indoors
I don’t know about you, but I have had enough of winter. To me, February means that Spring really isn’t too far away or at least there’s light at the end of the tunnel. You can always count on Old Man Winter to throw in a warm day or two just to tease us plus it’s time to start some veggie seeds indoors. This is one way we can cheer ourselves up in late winter and it’s a great way to get your hands in the dirt, even when it’s still chilly outside.
There are several good reasons to start plants from seed indoors. Growing your vegetables and herbs and even flowers from seed can be a very rewarding experience. It’s an economical way of providing fresh veggies for your family. Another reason is you gain between 4 and 6 weeks of growing time. As you probably know, our summers heat up really fast around here so your plants will have had time to established themselves inside before the hot weather arrives outside. You also have many more varieties to choose from because you are not limited to only whats available locally as young plants.
Of course, there are two reasons not to start from seed and buy young plants at the garden center: 1 – It’s easier, and 2 – It’s less time-consuming. It depends on your situation – but let’s assume you’re going to be bold and start your plants indoors.
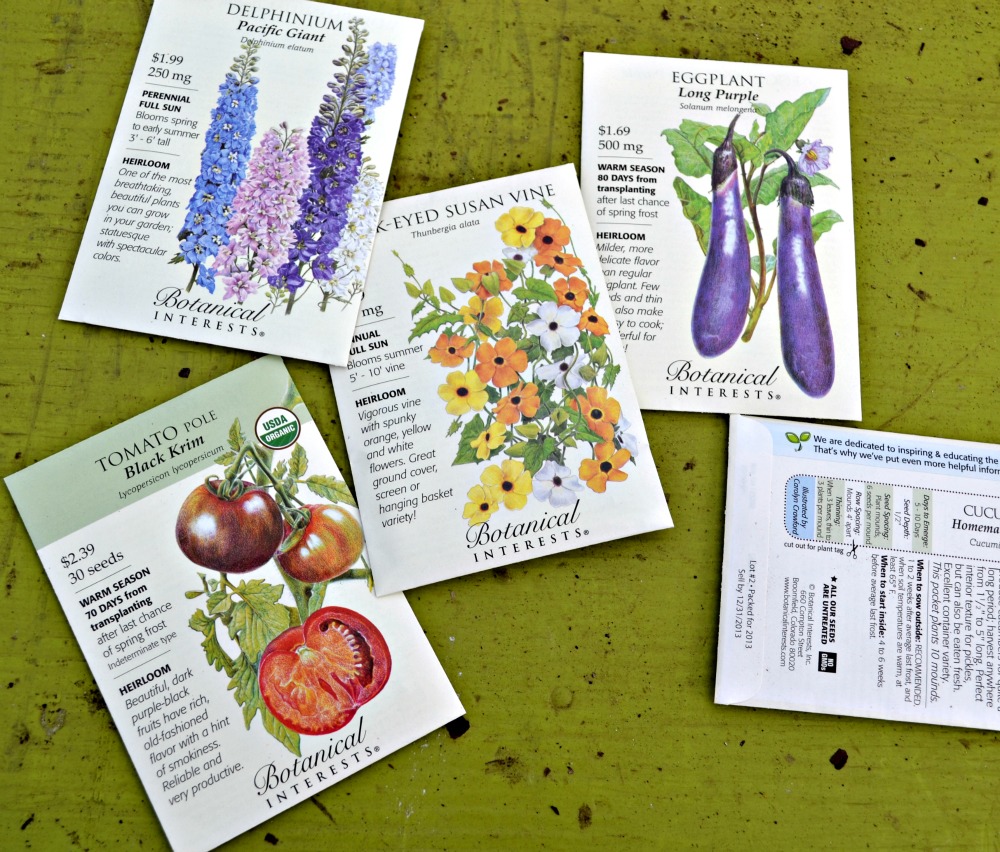
Let’s talk about the seeds for a minute. Some seeds transplant well and can be started indoors. Some don’t like their delicate root system disturbed, so it best to sow those directly in the ground after all chance of frost has passed. The seed packets will give you most of the information you’ll need about which ones can be started indoors and which ones work best when sown directly in the ground. The lists below will give you some idea of what to plan for:
Vegetables that transplant well:
| Broccoli | Celery |
| Brussel Sprouts | Chives |
| Cabbage | Collards |
| Chinese Cabbage | Eggplant |
| Cauliflower | Endive |
| Escarole | Kale |
| Kohlrabi | Leeks |
| Mustard | Okra |
| Peppers | Tomatoes |
| Parsley |
Vegetables that are usually direct seeded:
| Beans | Beets |
| Carrots | Corn |
| Lettuce | Micrio Greens |
| Muskmelons | Parsnips |
| Peas | Pumpkins |
| Radishes | Rutabagas |
| Turnips | Watermelons |
Then there are a handful of vegetables that aren’t usually grown from seed at all. They’re grown vegetatively. Things like Asparagus are grown from 1-2 year old roots, Garlic is grown from cloves, Potatoes and onions are grown from sets.
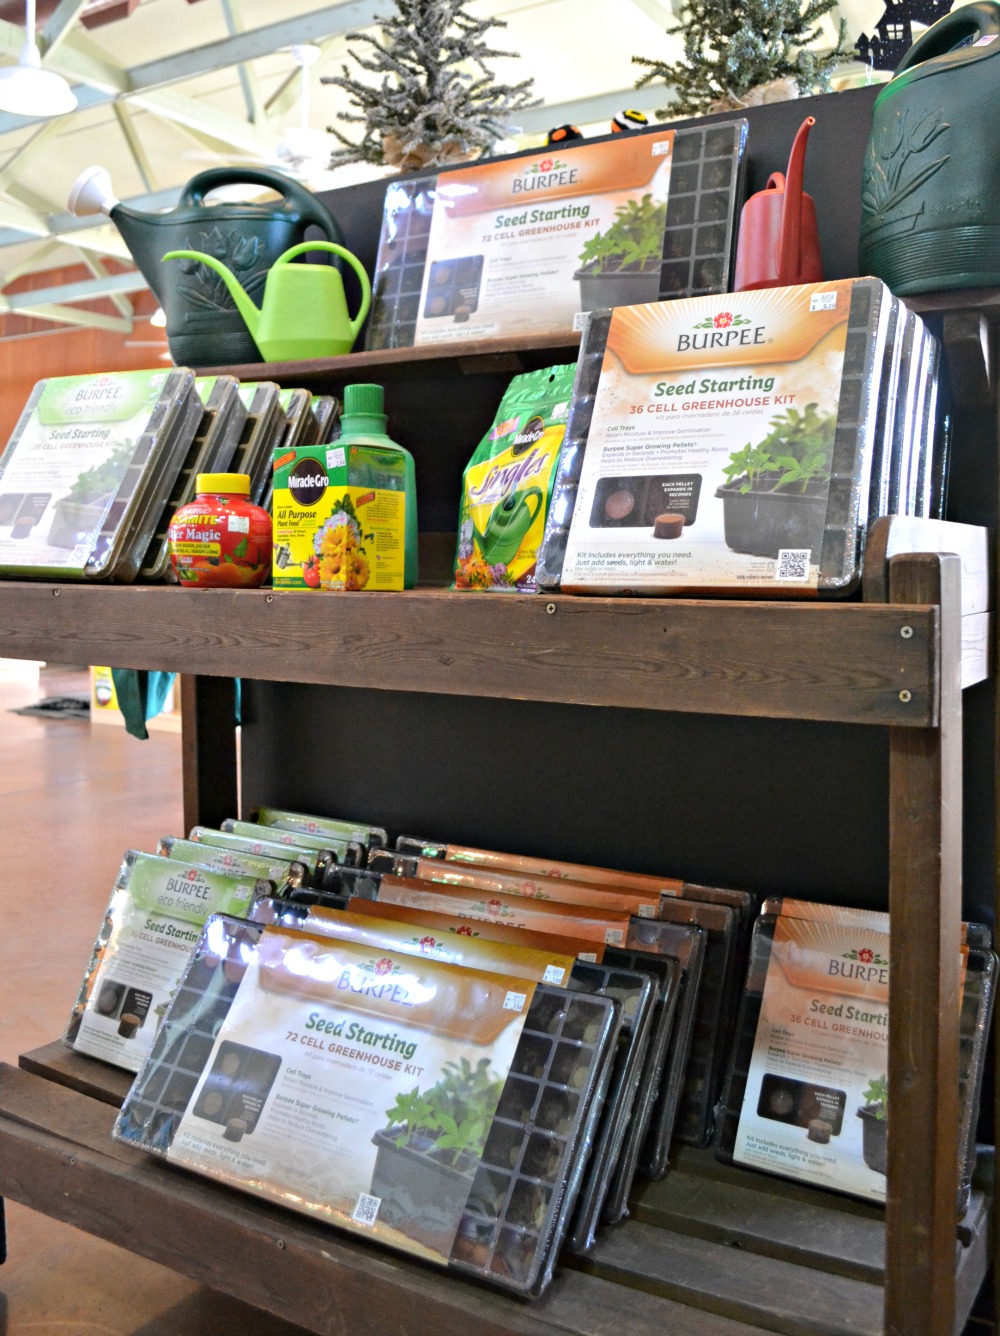
SUPPLIES
The good news is that you don’t need expensive or fancy supplies to start your seeds indoors. Here’s your supply list:
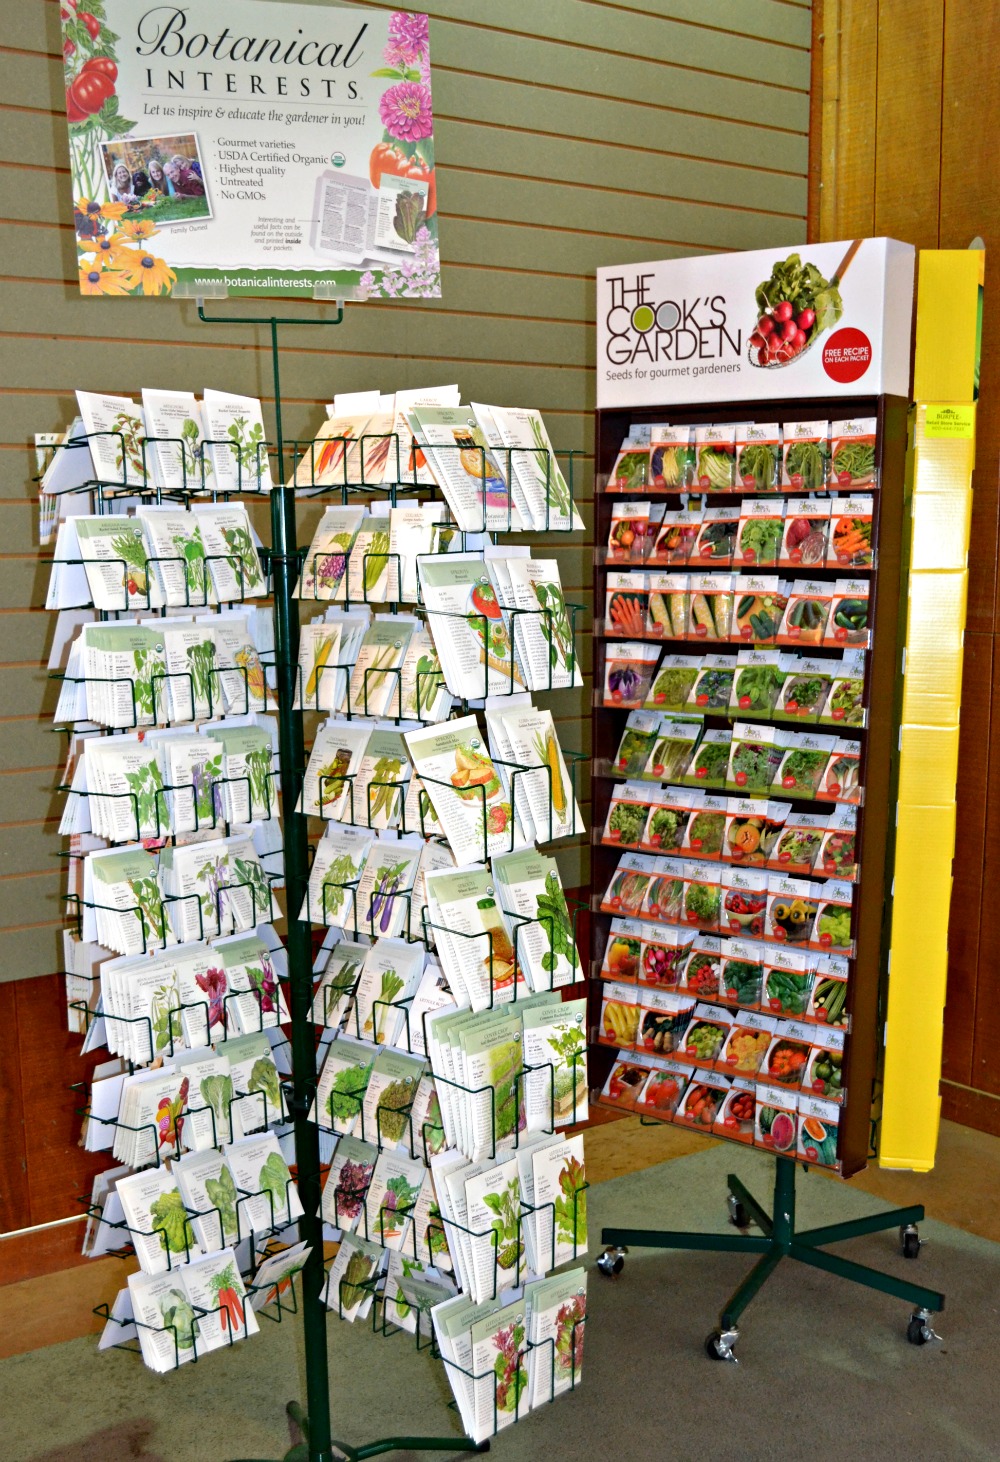
- Seed packets
- A bag of potting mix that is fluffy and light, with a loose texture and no fertilizer. Don’t skimp on the potting mix. Buy a mix made specifically for germination of seeds. Just make sure it has a good blend of soil, vermiculite or perlite, and sphagnum peat moss. I recommend Fafard Seed Starting mix. Seeds don’t like a heavy soil

- Plant labels and a waterproof marker or pen
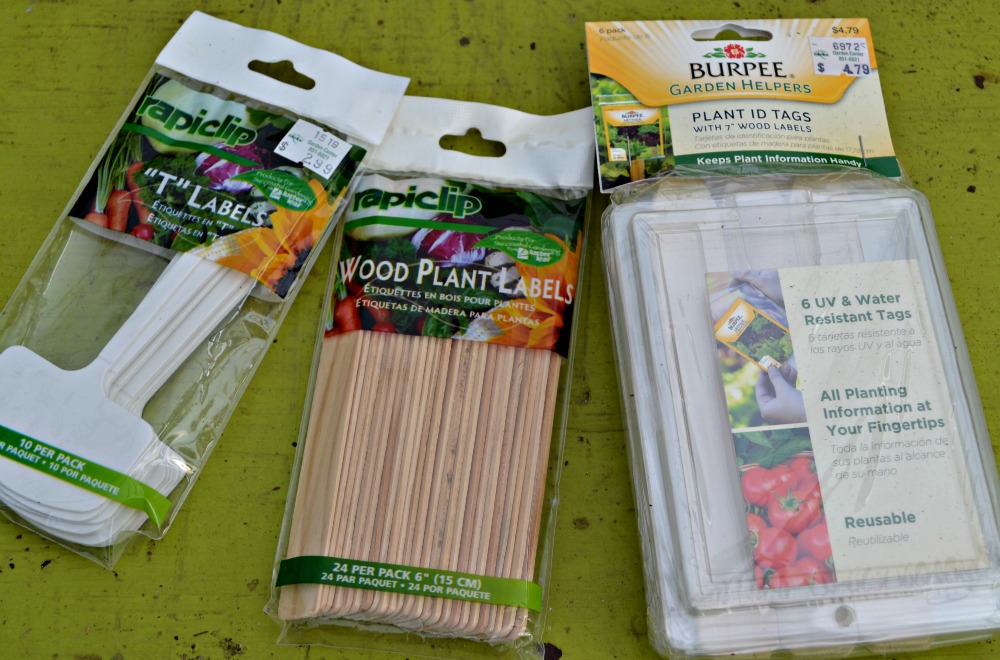
- Containers. You have a lot of options here. You can buy seed starting kits that have plastic cell packs, a tray and a clear plastic cover to create a greenhouse effect. You can use peat pots, yogurt containers, Dixie cups and even cut off milk cartons. Just make sure there are a couple of drain holes in the bottom and they are clean and sterile and it should be fine to use. You can use plastic wrap with any of these to create the greenhouse effect.

- A work space. Choose a surface that is at a comfortable height and close to a water supply where you’ll have room to spread things out.
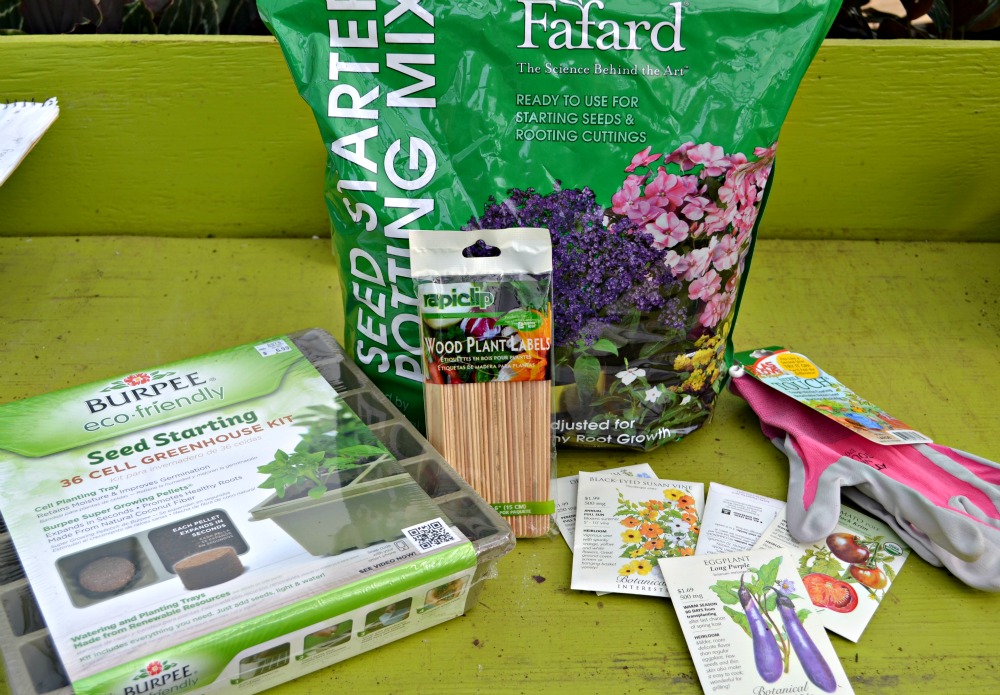
- A warm, well lit place for them to live for a few weeks.
SOWING TIMETABLE
To plan the best time to start seedlings indoors, you need to know the approximate date of the average last spring frost. In our area, it is April 15th, give or take a few days. The seed packet will tell you how many weeks before the average last frost date to start indoors. Example: Most tomatoes need to be started 6-8 weeks before the last frost date. Count back from April 15th the number of weeks indicated on the seed packet to get the appropriate starting date. Peppers need 8-10 weeks before last frost date. Some seeds only need 4-6 weeks. Different crops have different start time, so consult the seed packet for the varieties that you are growing. I use a calendar to keep track of what I plant and when I planted it.
GET STARTED
It is very important you clean and sterilize your containers. Wash them with warm soapy water and rinse thoroughly. Moisten the planting mix before you fill your containers, especially if it contains peat moss or milled sphagnum moss. Use warm water, and allow the mix time to absorb it. When you squeeze a handful of mix it should hold together and feel moist, but it shouldn’t drip. Scoop pre-moistened planting mix into the containers. Tap the filled container on your work surface to settle the medium, and smooth the surface with your hand. Don’t pack it down tightly.
SOWING SEEDS
Seeds come in all sizes. Some are large enough that they are easily handled and some are so small you almost need a magnifying glass to see them. A mini-seeder does come in handy for the tiny seeds, but not a necessity. Use your fingertips or tweezers to place them precisely. To sprinkle seeds evenly, try one of these methods:
- Take a pinch of seeds between your thumb and forefinger and slowly rotate thumb against finger—try to release the seeds gradually while moving your hand over the container.
- Scatter seeds from a spoon.
- Sow seeds directly from the corner of the packet by tapping the packet gently to make the seeds drop out one by one
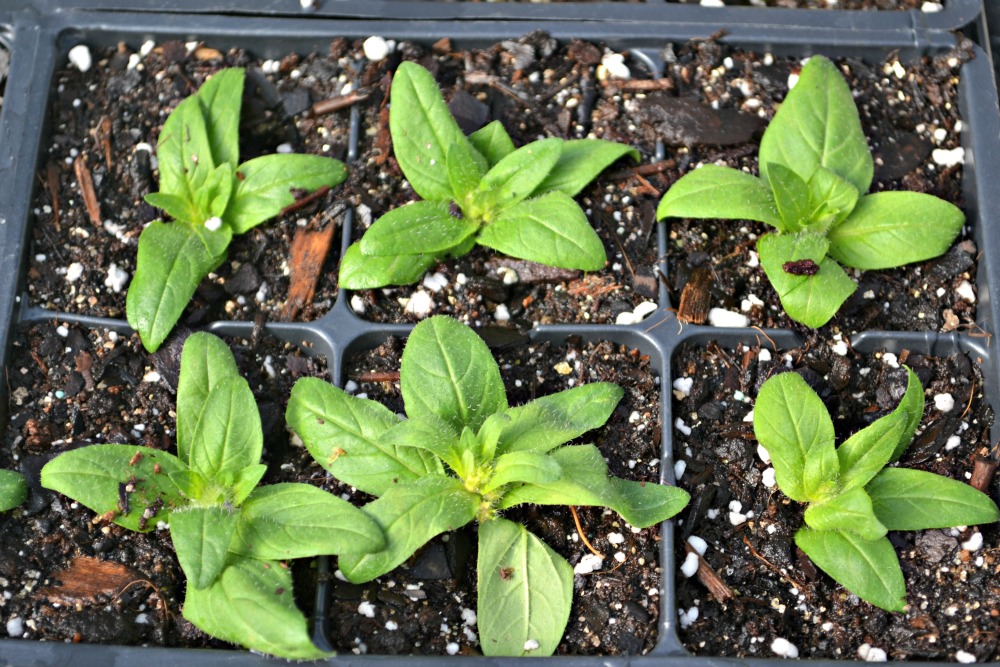
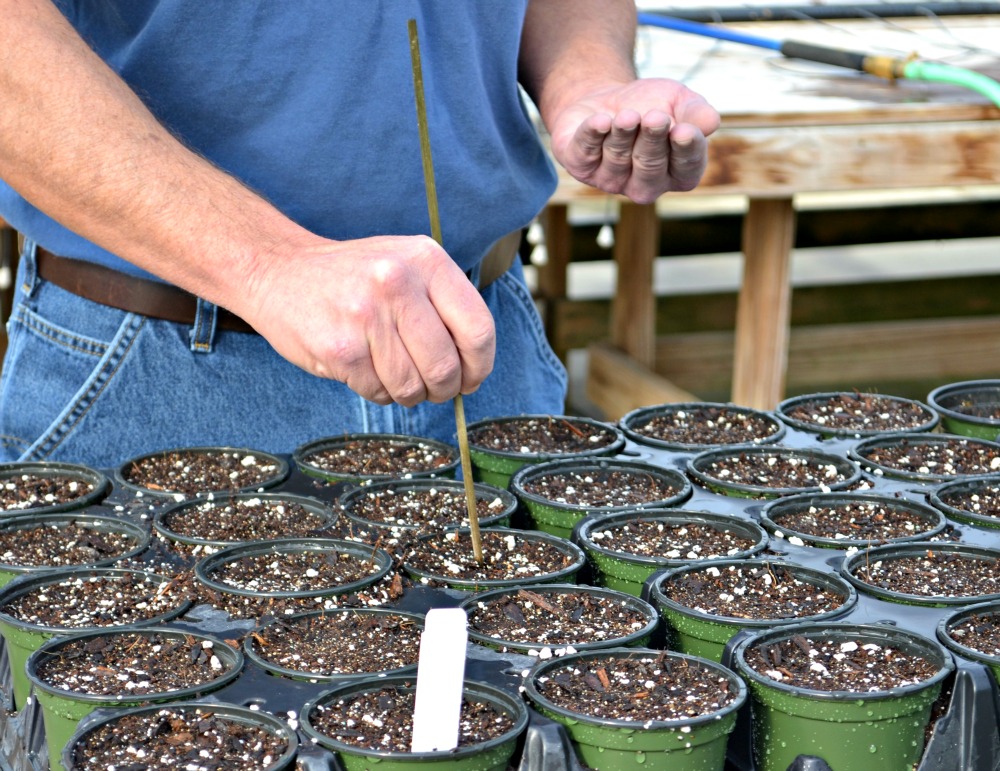
Once you have your seeds placed in their container, cover the seeds carefully by sprinkling them with light, dry planting mix. Write a label for each kind of seed you plant and put it in the flat or pot as soon as the seeds are planted, before any mix-ups occur. Set the containers or pots in shallow containers of water and let them soak until the top of the planting mix looks moist. Or you can gently mist the mix. If you water from the top be careful not to disturb your seeds. Cover the container, using clear plastic lids or plastic wrap. Finally, put the containers of planted seeds in a warm place where they get bottom heat and you can check them daily. On top of the refrigerator works well. There are Seedling Heat Mats you can purchase but are not necessary. Seeds sprout best in 65–75 degrees. Keep the soil moist but not soggy and do not let them dry out. As soon as you notice sprouts poking through the soil surface, remove the plastic completely and place them in a south-facing window or under grow lights that are designed for growing plants. Check your seeds daily. Seeds that start to grow without adequate light will become tall and leggy. Most seedlings require 14 to 16 hours of direct light to manufacture enough food to produce healthy stems and leaves.
Once your seedlings develop their second set of true leaves, it is time to start feeding them. Young seedlings are very tender and can’t tolerate a full dose of fertilizer. Baby them with a half-strength dose until they are three or four weeks old. After that, you should start fertilizing every week with a liquid fertilizer. Because your seedlings are growing in a sterile, soil-less medium, fertilizing is critical.
As your seedlings grow, watch the weather. Although a few crops can go outside earlier (read the seed packet), most should stay indoors until after our last frost date has passed and your soil has warmed. If your area is having a cold spring, hold off. Many a carefully nurtured tomato seedling has been killed by a late frost or simply slowed down by cold soil. Protect your investment of time and attention by planting later rather than earlier.
Then introduce your plants to the outdoors gradually, a process called “hardening off.” For a few hours one fine spring day, then a few hours more the next, give your plants a taste of the outdoors, but bring them in at night. After a week or so, they will have acclimated to the outdoors and will be ready to transplant.
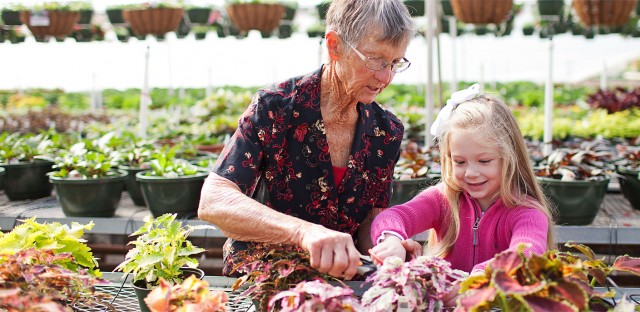
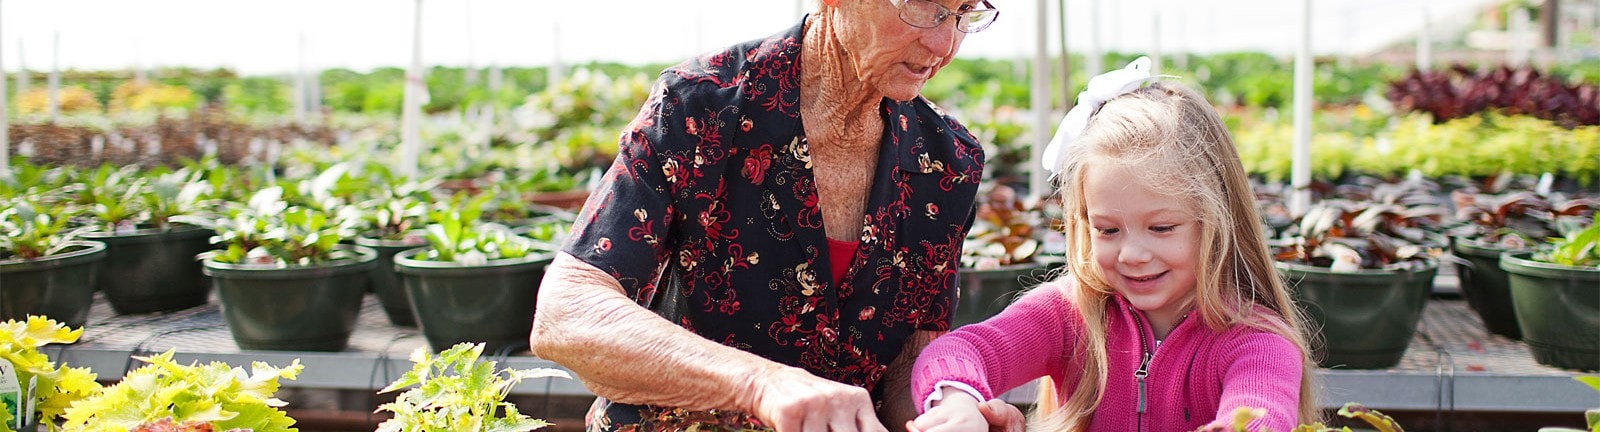
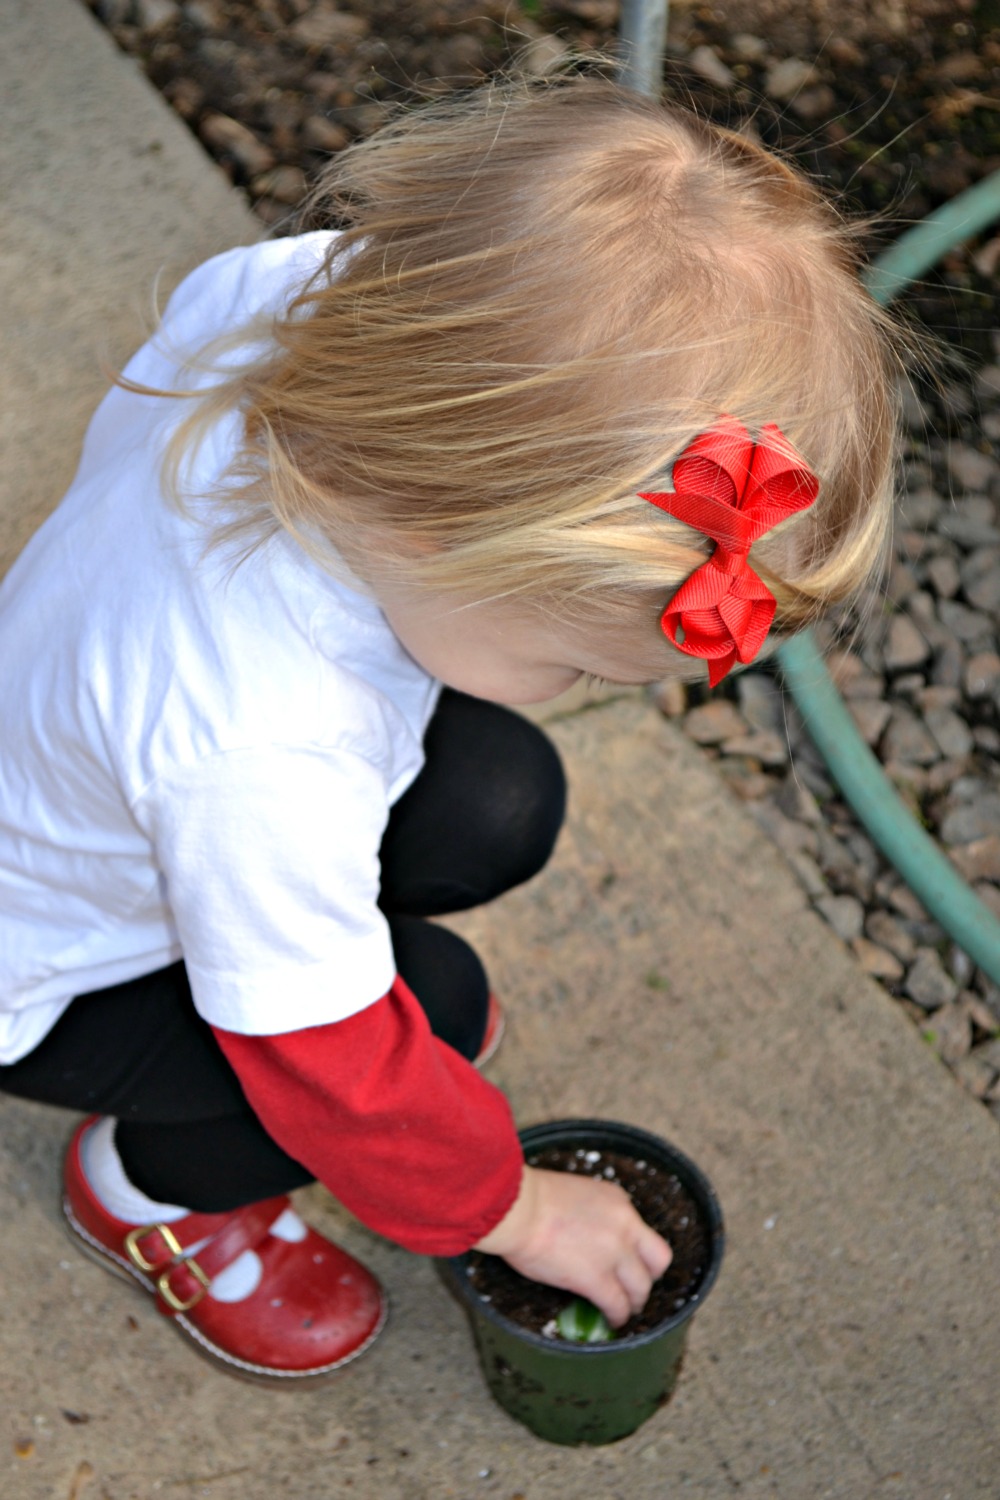
I hope I have given you the knowledge and truly inspired you to give seed starting a try. It is so rewarding and a great opportunity to get the kids involved. Gardening is most inviting to kids once they know it’s okay to touch, feel, explore and get a little dirty. Many kids hesitate at first because they are probably used to being told ‘Don’t touch’. But when we take kids into the garden we want them to feel free to touch and dig in the dirt. Let them thumb through the seed catalogs and pick out what they want to grow. You’ll be amazed at the vegetables your kids will eat if they actually grow it. I leave you now with this thought.
“With a little soil from the earth, a little water from the rain, a little light from the sun and love from our heart, a seed shall grow.”
Cindy K.