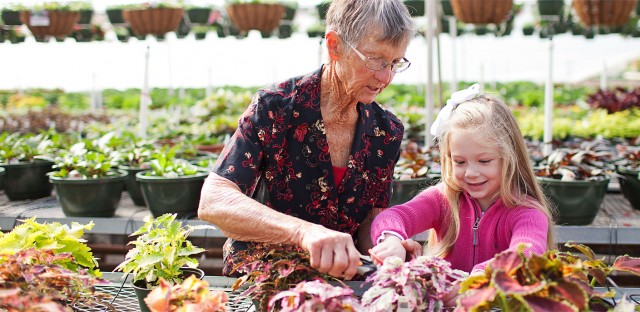


Constructing the Perfect Plant Container
Let your personality shine through by adding a plant container filled with your favorite plants to any space, outside or inside. Whether you are wanting a small plant container for your living room or a large one to help fill the space in your backyard, we have you covered with these steps to creating the perfect plant container!
1. Pick Out The Plants You Want To Use
You get to choose from a variety of different plants. Annuals tend to be the most popular choice for plant containers, but if you are wanting to use perennials they can also work. Take into consideration the location you plant to place your container, how much sunlight it will be getting and the type of look you are wanting to achieve.
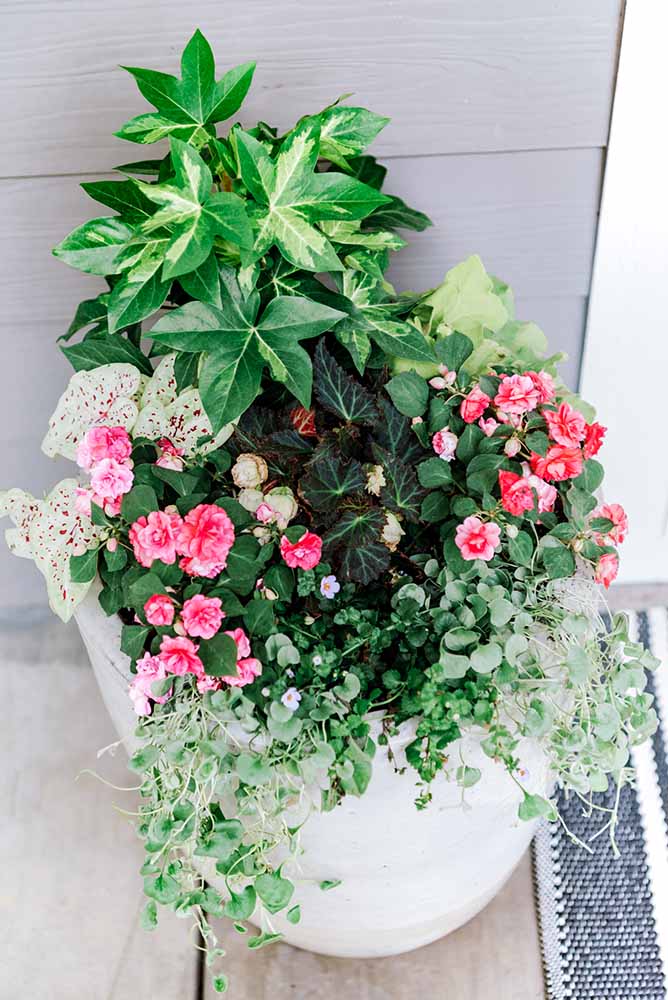
A good rule of thumb is to have a thriller, a filler and a spiller in your plant container
- A thriller will catch your eye and bring the focus to the plant container. You can choose a bright, tall, or even patterned plant, but it is going to be the focal point so make sure you like it!
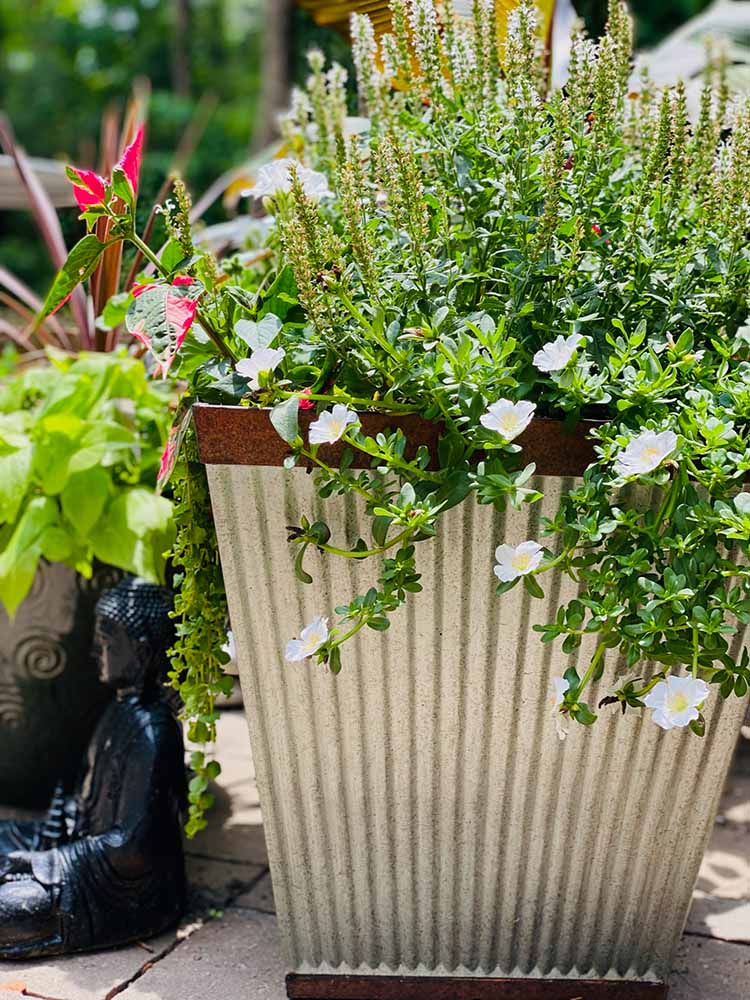
- Spillers will be around the edge of the pot and typically hang over creating a softer, more professional look.
- Lastly, fillers are added in to fill the space and make sure that there aren’t any large gaps.
2. Choose Your Container
Once you know what plants you want to plant in your container, you can pick out the container itself. You can do this step prior to picking the plants, but doing it after ensures you pick one that is not too big and not too small for your plant selection.
Your container should have a drainage hole to allow for the plants to not be overwatered. Just like when picking your plants, have fun picking the container. It can match the plants or it can be fun and fit your personality.
3. Add The Soil
Before adding in the soil, add a thin layer of garden stones or river rocks. This will prevent the soil from falling out of the pot, but still allows the water to drain out of the drainage hole. Then add your planting soil and leave about an inch between the top of the soil and the rim of the pot.
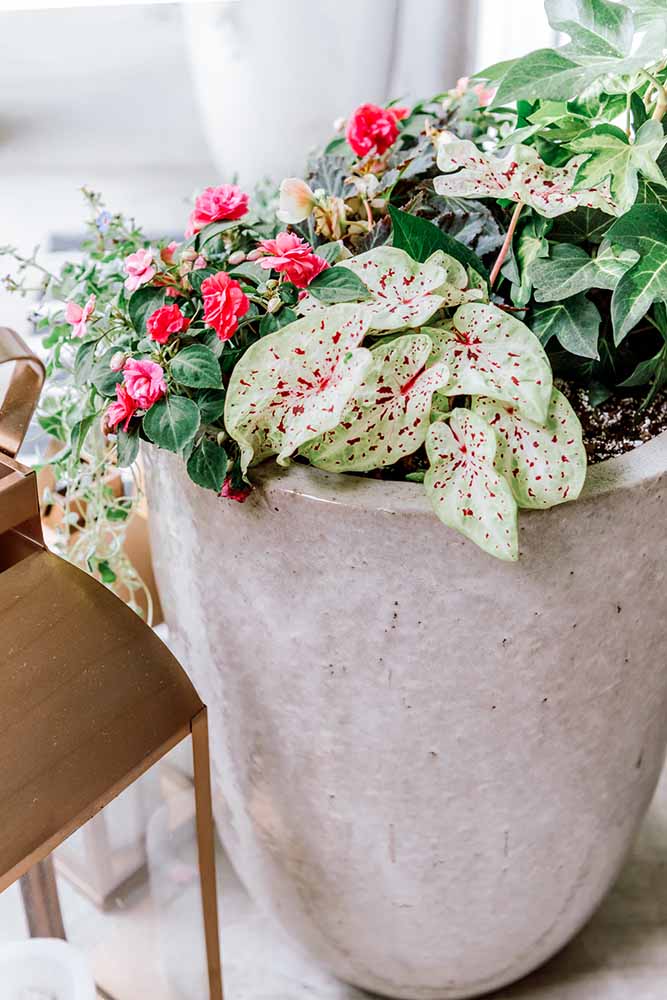
4. Preview Your Arrangement
It is important to lay out your plants on top of the pot to see how it will look. If working with a variety of each, this is an especially important part.
- Typically the thriller will go in the center or back since they are larger.
- The spillers should be placed in the front to tie the plants and the pot together in a cohesive manner.
- Then lastly fill the gaps with filler.
Once it is placed in the soil, you don’t want to have to move them around, so it is essential to know that you like the placement before you actually plant them. Play around with different placements until you find one that you love.
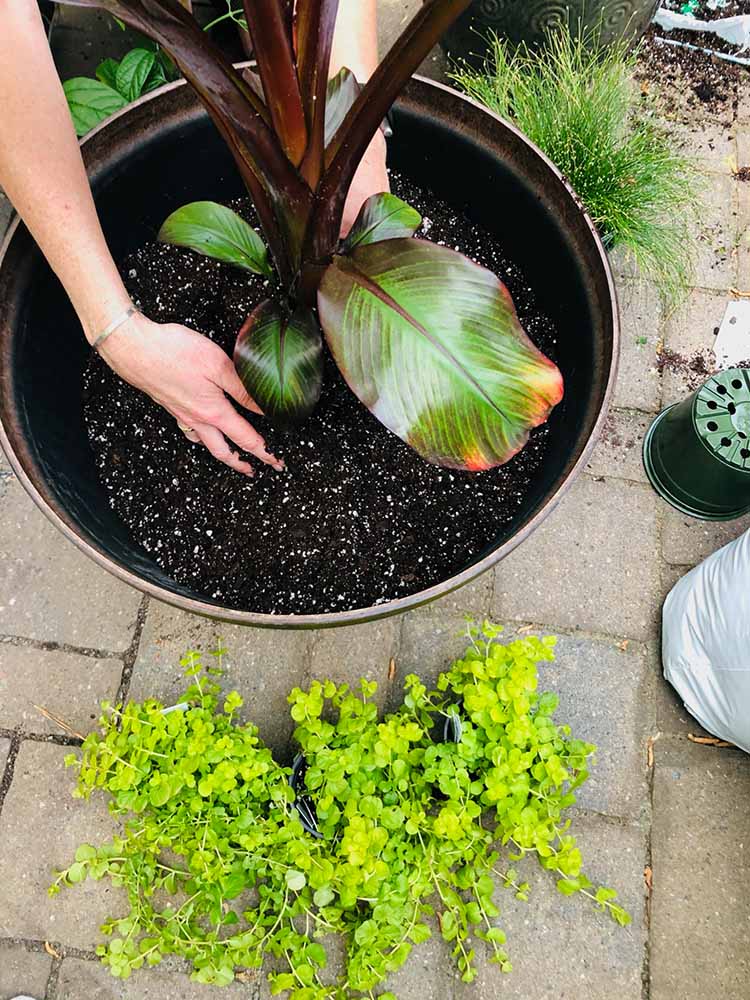
5. Add Your Plants
Now that you have determined the placement that you want you can start planting.
When removing your plants from their original containers, use your fingers or scissors to break up the roots. Doing this encourages growth and helps the plants adjust to their new environment.
Once you have them all planted, make sure to give the container a good watering. Be sure to rotate the pot so all the plants can get sunlight and even consider moving them around as the sun moves throughout the year.
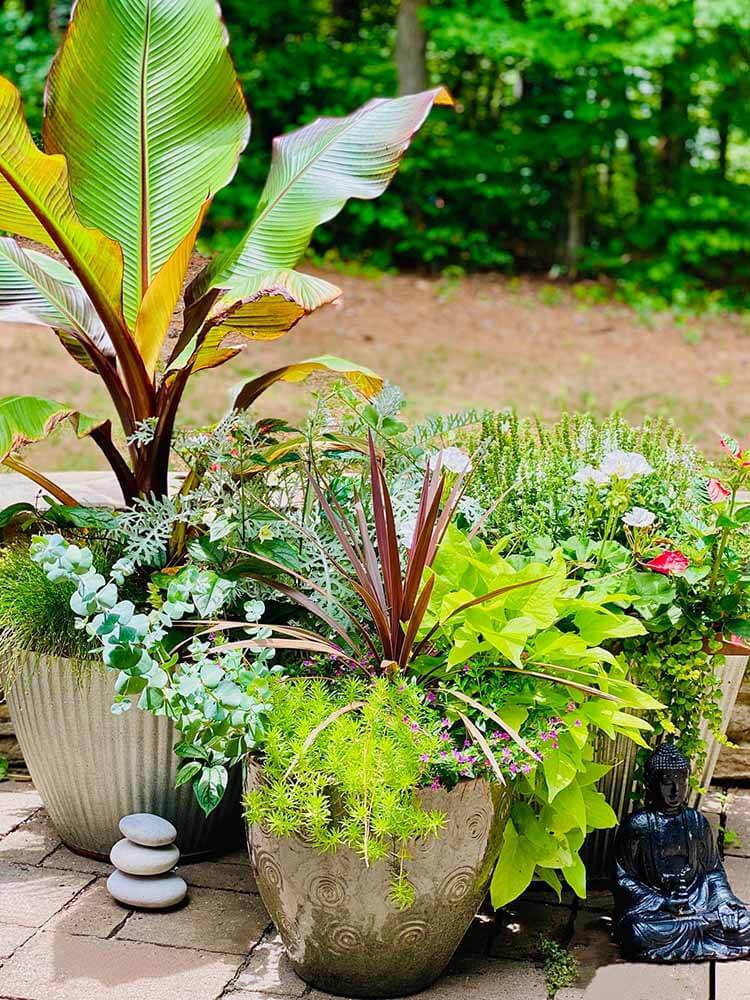
Time to Get Started!
Now that you have the tips to make the perfect plant container, let us help you in finding the plants that will bring your vision to life. Get started with our experts today. Happy planting!